Cake
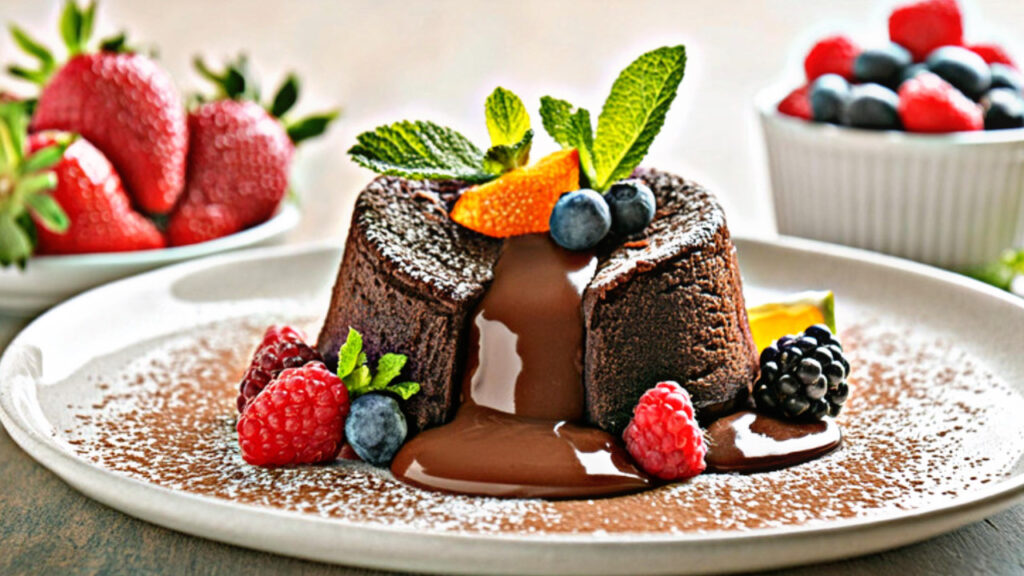
Craving something indulgent, yet simple to make? Look no further than this delightful Suji Lava Cake, a fusion dessert that blends the richness of molten chocolate with the unique texture of semolina (suji). The best part? You don’t need an oven to prepare this soft and gooey treat! This easy recipe allows you to enjoy a decadent dessert with minimal effort, and it’s perfect for any occasion.
Ingredients for Suji Lava Cake
For the cake batter:
- 1 cup suji (semolina)
- 1/4 cup all-purpose flour (maida)
- 1/2 cup milk
- 1/4 cup powdered sugar
- 1/4 cup unsweetened cocoa powder
- 1/4 cup melted butter or oil
- 1 tsp vanilla essence
- 1/2 tsp baking powder
- A pinch of salt
For the molten chocolate center:
- 2 tablespoons chocolate chips or chopped dark chocolate
- 1 tablespoon cream
Step-by-Step Guide to Make Suji Lava Cake
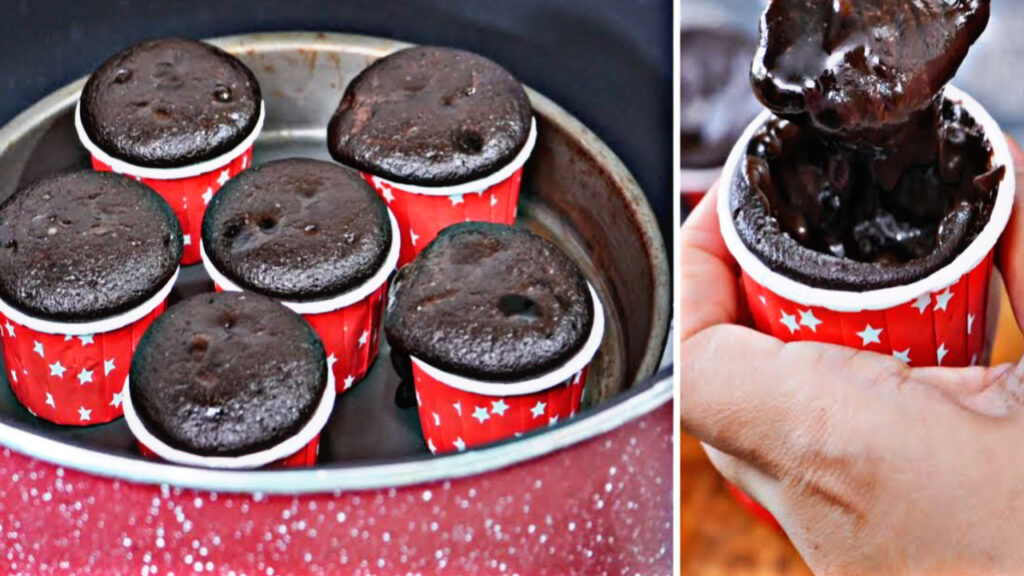
1. Prepare the Molten Chocolate Center
Start by making the molten chocolate filling that gives this cake its signature lava effect. In a small microwave-safe bowl, combine the chocolate chips or chopped dark chocolate with the cream. Heat the mixture in the microwave for 15-20 seconds, then stir well until the chocolate is smooth and melted. If the mixture is too thick, add a bit more cream to achieve a pourable consistency.
Once melted, allow the chocolate filling to cool slightly. You can even refrigerate it for 10-15 minutes, which will help it firm up, making it easier to handle later.
2. Mix the Cake Batter
In a separate bowl, combine the suji, all-purpose flour, cocoa powder, and a pinch of salt. Sift these dry ingredients to remove any lumps and ensure they’re well combined.
In another bowl, whisk together the milk, sugar, melted butter (or oil), and vanilla essence. Slowly add the wet ingredients to the dry mixture, stirring constantly to avoid any lumps. Add the baking powder and mix again until you have a smooth batter with a thick consistency.
3. Grease the Molds
Grease your ramekins, muffin tins, or silicone molds with butter or oil. Make sure to coat the sides well so the cake can easily come out once baked. You can also dust the molds with some cocoa powder to prevent the batter from sticking.
4. Assemble the Lava Cakes
Spoon a little bit of the cake batter into the prepared molds. You want to fill them halfway. Then, carefully place a teaspoon of the molten chocolate mixture into the center of each mold. Once the filling is in place, cover it with the remaining cake batter, ensuring the chocolate is completely sealed inside.
5. Steam the Lava Cake
Unlike traditional lava cakes that are baked, we’ll be steaming them to achieve that moist and soft texture. Place a steaming rack or a small stand inside a large pot. Add about an inch of water at the bottom. Bring the water to a gentle boil over medium heat, then reduce to a simmer.
Carefully place the molds in the pot, making sure they’re not submerged in water. Cover the pot with a lid and steam for about 15-20 minutes. To check for doneness, gently press the top of the cake. It should feel firm with a soft center. You can insert a toothpick into the sides of the cake (not the center) to ensure it’s cooked through, but the molten chocolate will remain gooey inside.
6. Serve and Enjoy
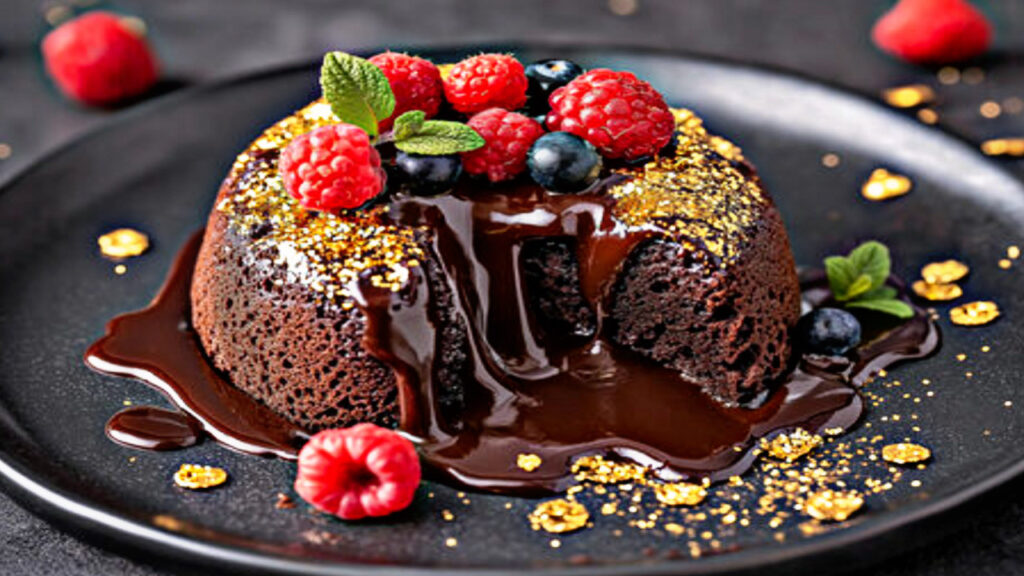
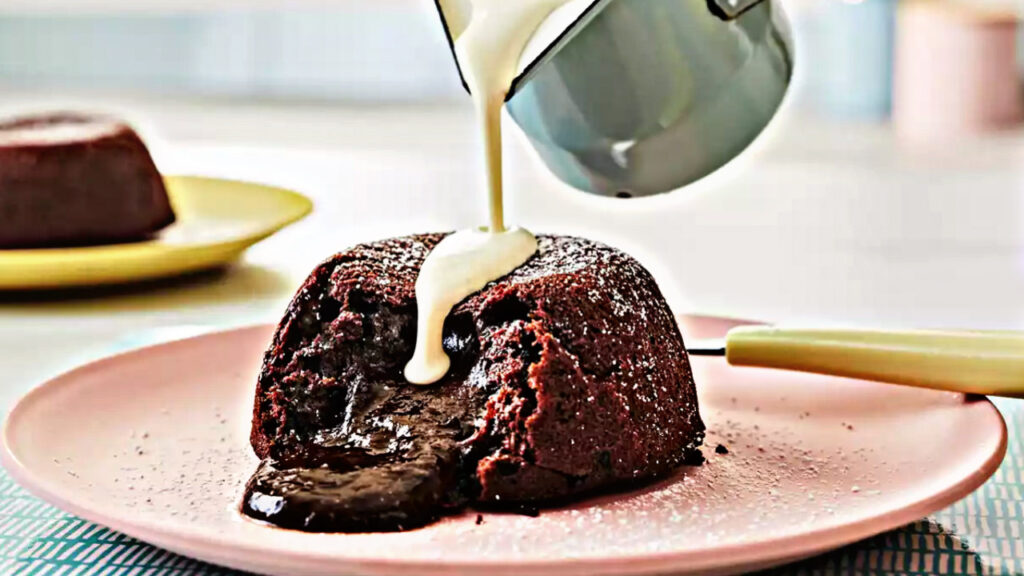
Allow the lava cakes to cool for a few minutes before gently running a knife around the edges of the mold to loosen the cake. Flip the mold onto a plate and serve immediately. When you cut into the cake, the molten chocolate will ooze out, creating the perfect lava effect.
You can garnish with powdered sugar, a scoop of vanilla ice cream, or fresh berries for an extra touch of sweetness.
Tips for the Perfect Suji Lava Cake:
- Be sure not to overcook the cakes, as this will prevent the molten chocolate from staying gooey.
- You can use any type of chocolate you prefer for the filling dark chocolate provides the best contrast with the sweetness of the batter.
- If you don’t have ramekins, muffin tins or silicone molds work just as well.
This Suji Lava Cake is an incredibly simple yet delicious dessert that’s sure to impress your friends and family. With just a few basic ingredients and no need for an oven, you can easily create a soft, chocolatey treat that melts in your mouth. Perfect for any occasion or when you’re just in the mood for something sweet and comforting!

